Athlete quickstart
A coach invited you, or you bought a program. Either way, you accept or buy on the web, then train in the mobile app. The path takes about ten minutes. The web holds your account and your purchases. The app runs your training.
- Open the invite
An invite arrives by email. It names the organization that invited you and the role you join with. Accept invitation opens the invite page in your browser. The same link appears below the button. Paste it into your browser if the button does not work in your mail client.
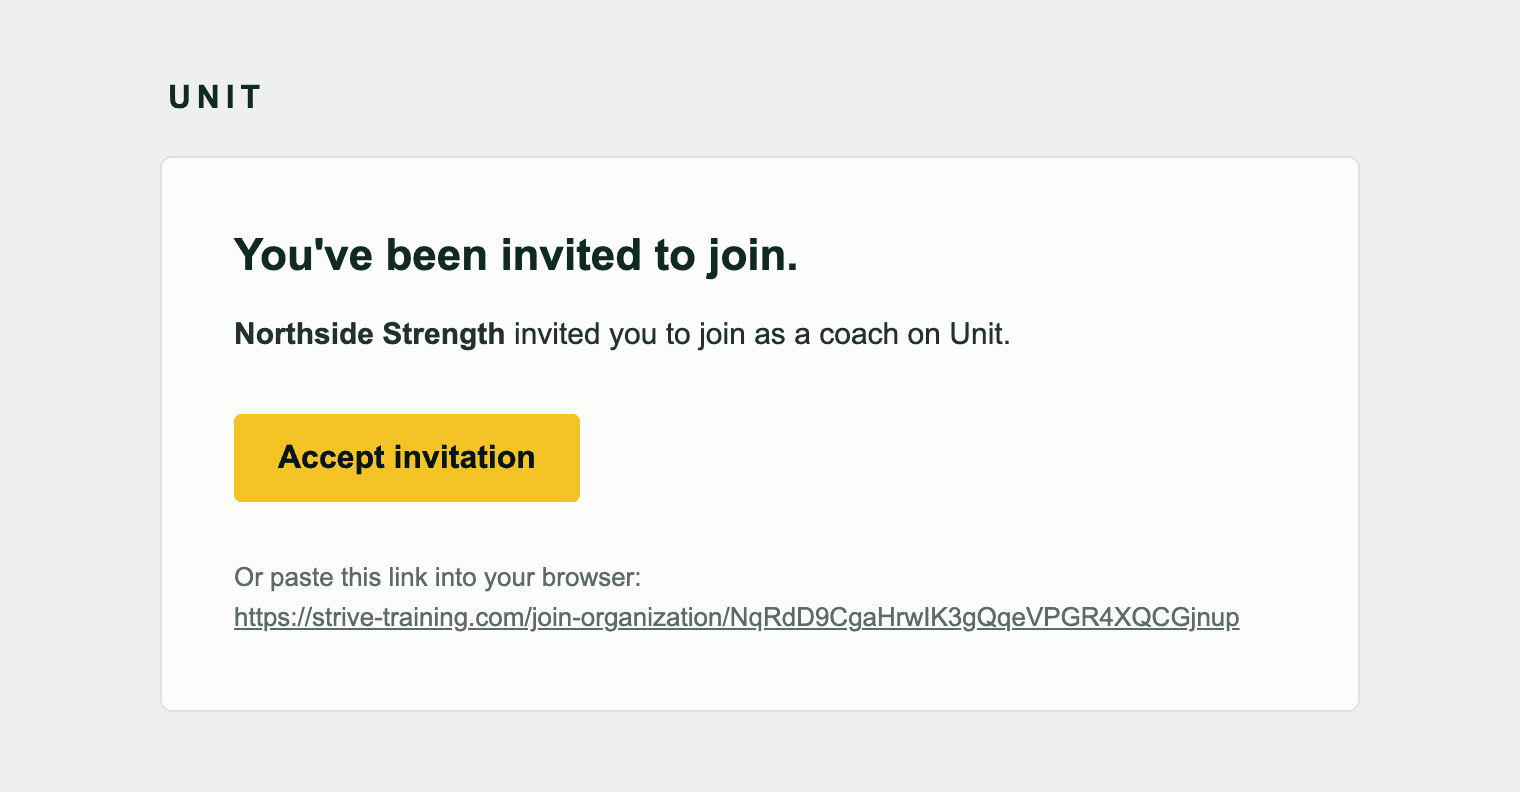
The invite email. The invite works only for the address it was sent to, and it works one time. A forwarded link does nothing.
If you bought a program instead, your purchase already gave you access. Buying a program covers that path.
- Create your account, or sign in
The invite page asks you to sign in or create an account first. Use the address the invite was sent to.
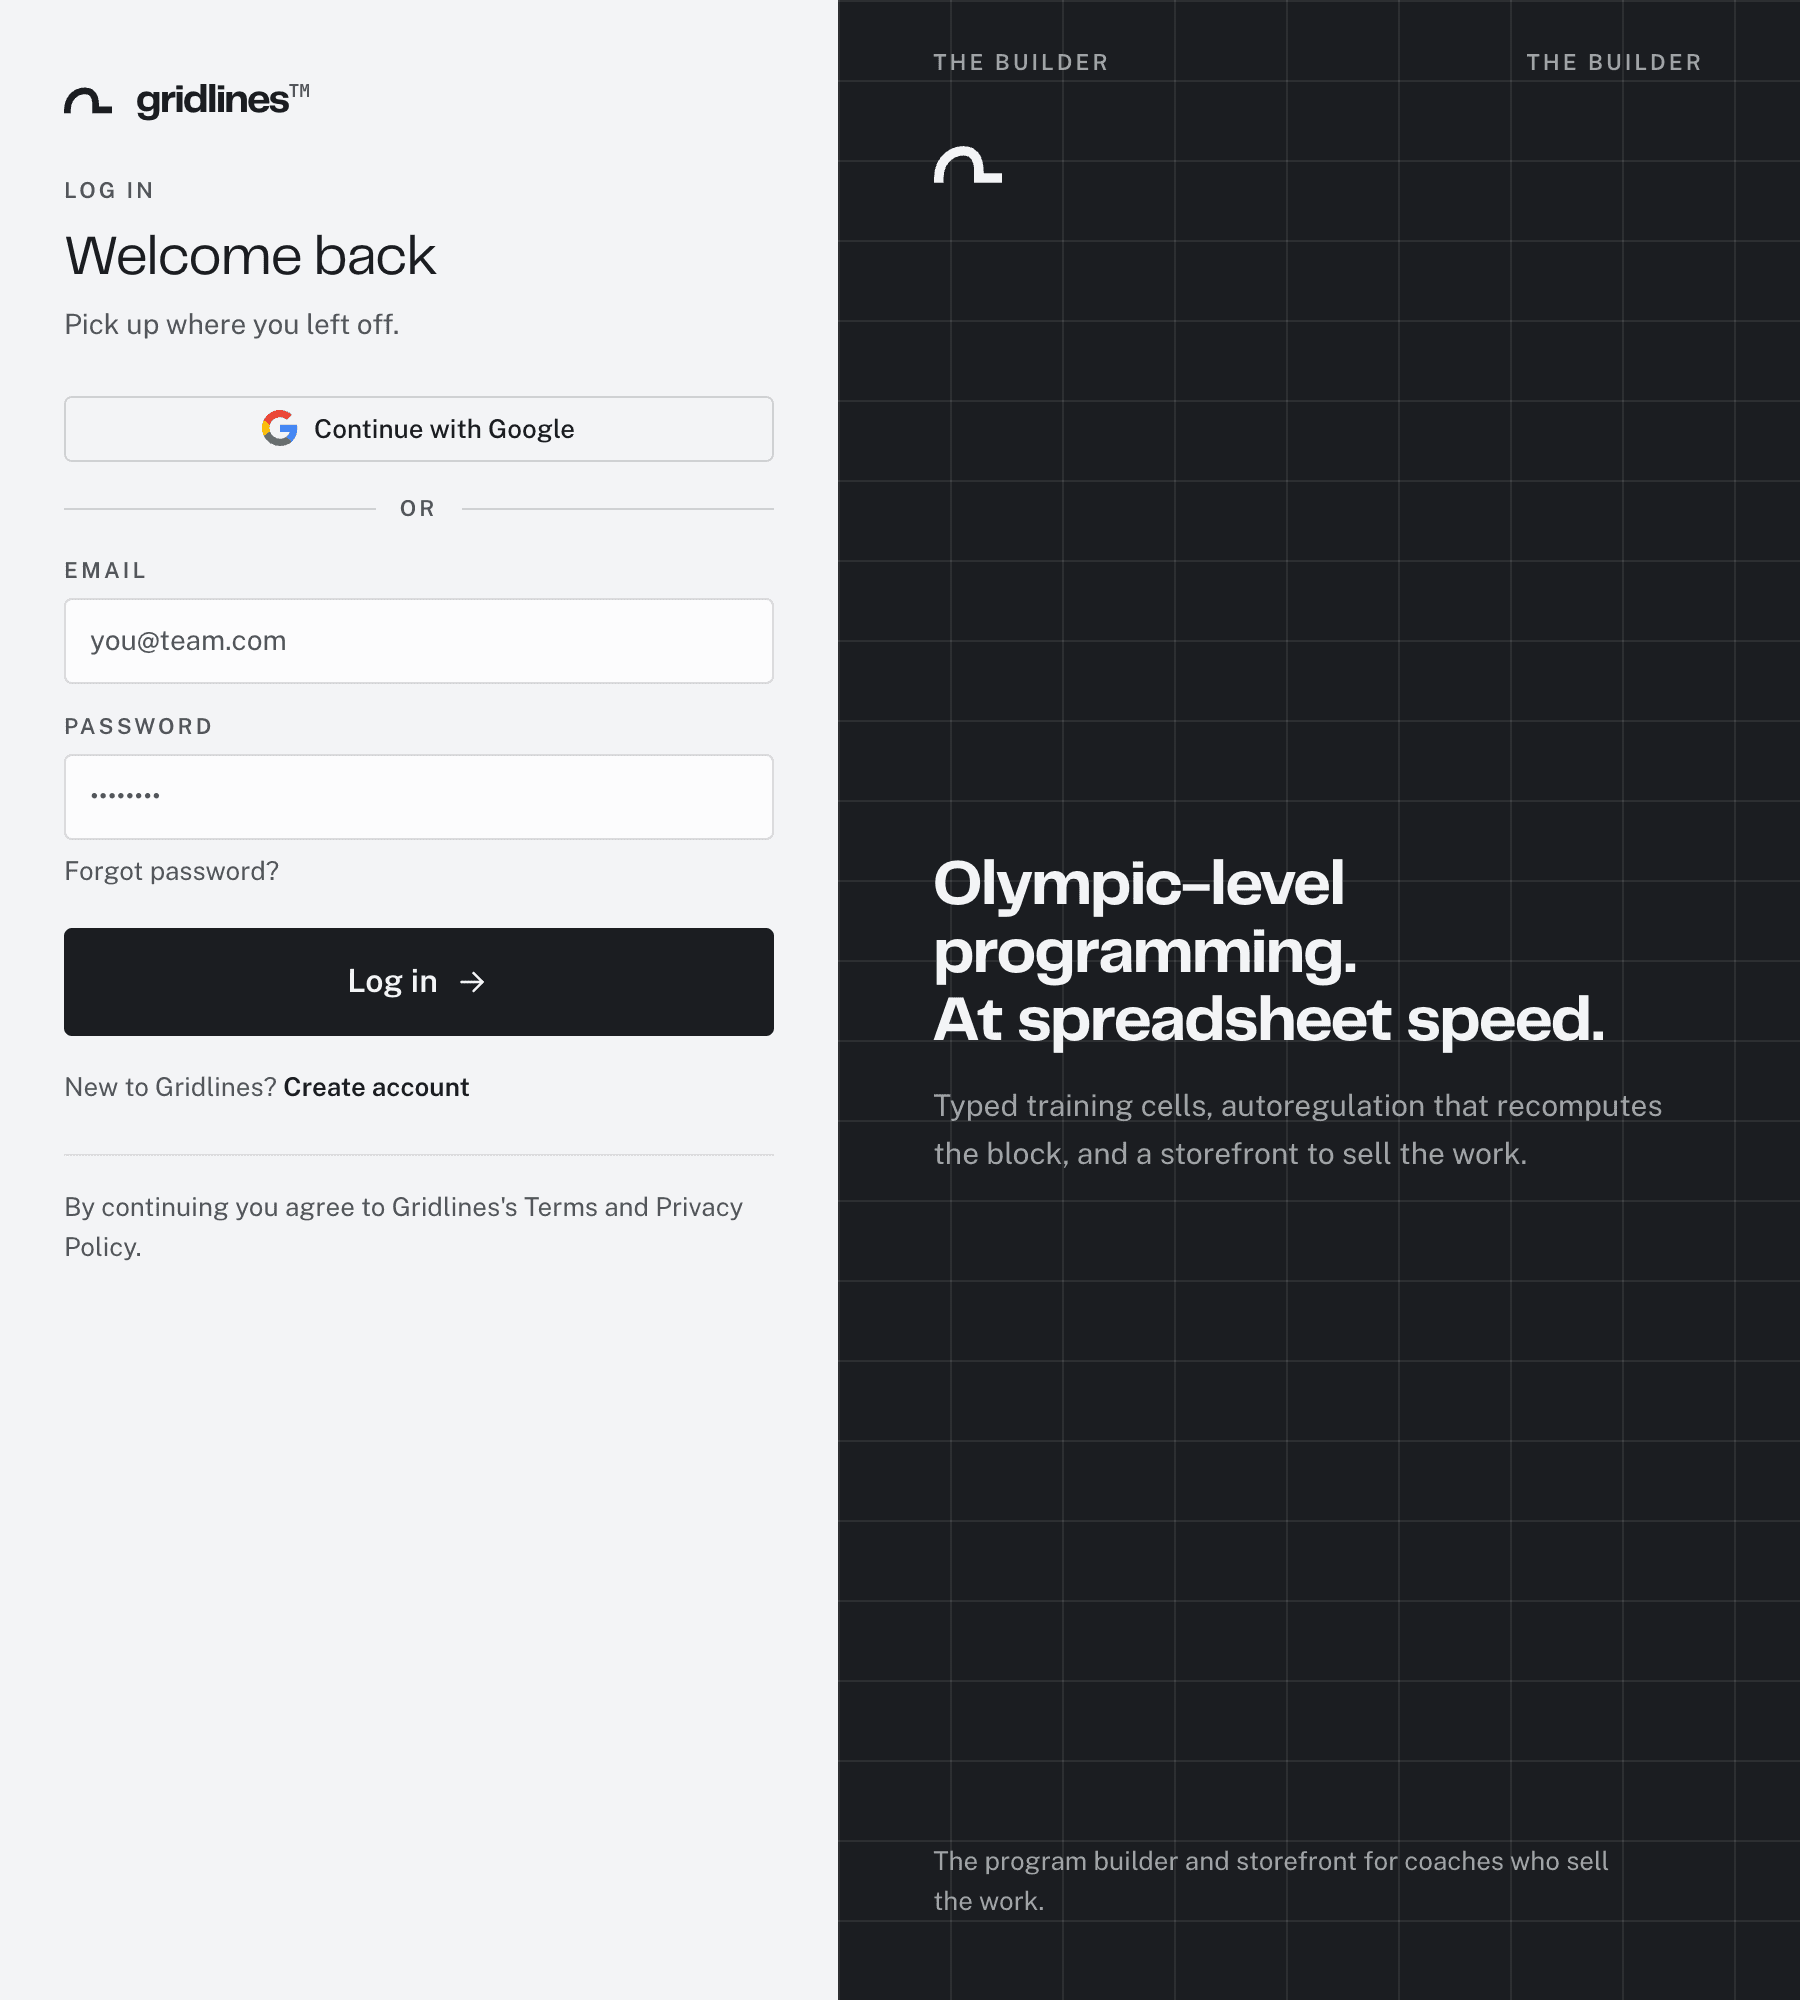
Signing in on the web. Click Accept invitation. Your web dashboard opens on Your training. Its sidebar has Your training, Community, and Purchases.
- Install the mobile app and sign in
Install the mobile app on your phone. Sign in with the same email. The app asks for a short profile and your current lifts. Every field is optional. A saved max turns percentage prescriptions into real loads from day one.
- Answer your coach's intake form
If your coach sent an intake form, it waits on the Check-in tab. Answer it before your first session, or later. See The Check-in tab.
- Log your first session
Your coach's calendar puts your sessions on Today. Tap Start. Tap any value cell, such as Reps or Load, and a keypad docks at the bottom of the screen. Next walks the fields in order, and ✓ completes a set.
Tap Finish when you are done. The app saves the session to Activity and shows a summary. Tap Done.
A program you bought is different: it waits in Profile > Programs until you start it. See Managing your programs.
What the web is for, once you train
The mobile app runs your training. Your web account covers the rest:
- Purchases — every program you bought, with its status, dates, and amount. See Your purchases.
- Account — your name, email, and password. See Profile and security.
An invite and a purchase give you different relationships with a coach. An invite puts you on their roster, so they see your logged sessions. A purchase makes you their customer. They can message you while you run their program, but your sessions stay yours. Invites vs. program links has the full comparison.
Where to go next
- Getting set up — the five tabs and the preferences worth setting early.
- Logging a workout — the keypad, set options, exercise swaps, and the tools sheet.
- The Check-in tab — readiness, the daily check-in, and intake forms.
- Maxes and percentages — why a saved max changes what a session shows you.