Coach quickstart
By the end of this you have an account, an organization, a written program, and a storefront with your permanent handle. You also have a live listing with a link you can post anywhere. The setup itself takes about ten minutes. Writing the program takes as long as programming always takes. Stripe's identity check runs on Stripe's schedule. Most people clear it in minutes. Sometimes Stripe asks for a document and takes a day or two.
You need an email address. There is nothing to install. The builder runs in your browser, and the business side runs in the web dashboard.
- Create your account
Go to the signup page. Enter your email and a password, or continue with Google. Email signup sends you a 6-digit code to confirm the address. There is no role to pick and no card to enter. See Creating your account for the full walk-through.
- Name your organization
Everything you make belongs to an organization, so setup asks for one field: its name. Coaching on your own is still an organization. You are the admin of an organization of one. It starts on the Free plan, with no card.
You land on the Agent, the AI chat in your web dashboard. You can ask it to draft a program, or open the builder yourself.
- Write a program in the builder
In the sidebar, open BUILD > Programs. Click New program. Enter a name and choose the type in the New program panel. You write the program in the builder, which lays out weeks, days, and sessions like a spreadsheet. When it is ready, click Go live on the program's overview. Building your first program covers the shape.
- Set up selling
Selling is something you turn on when you want it, not part of signing up. In the sidebar, open SELL > Storefront, or click Create your storefront in the getting-started checklist. Enter a Page name and a Handle. Click Create storefront.
Your handle is the permanent address in every link you share. You cannot change the handle later. Pick one you are happy to see in a URL. This step does not ask for bank details or tax forms.
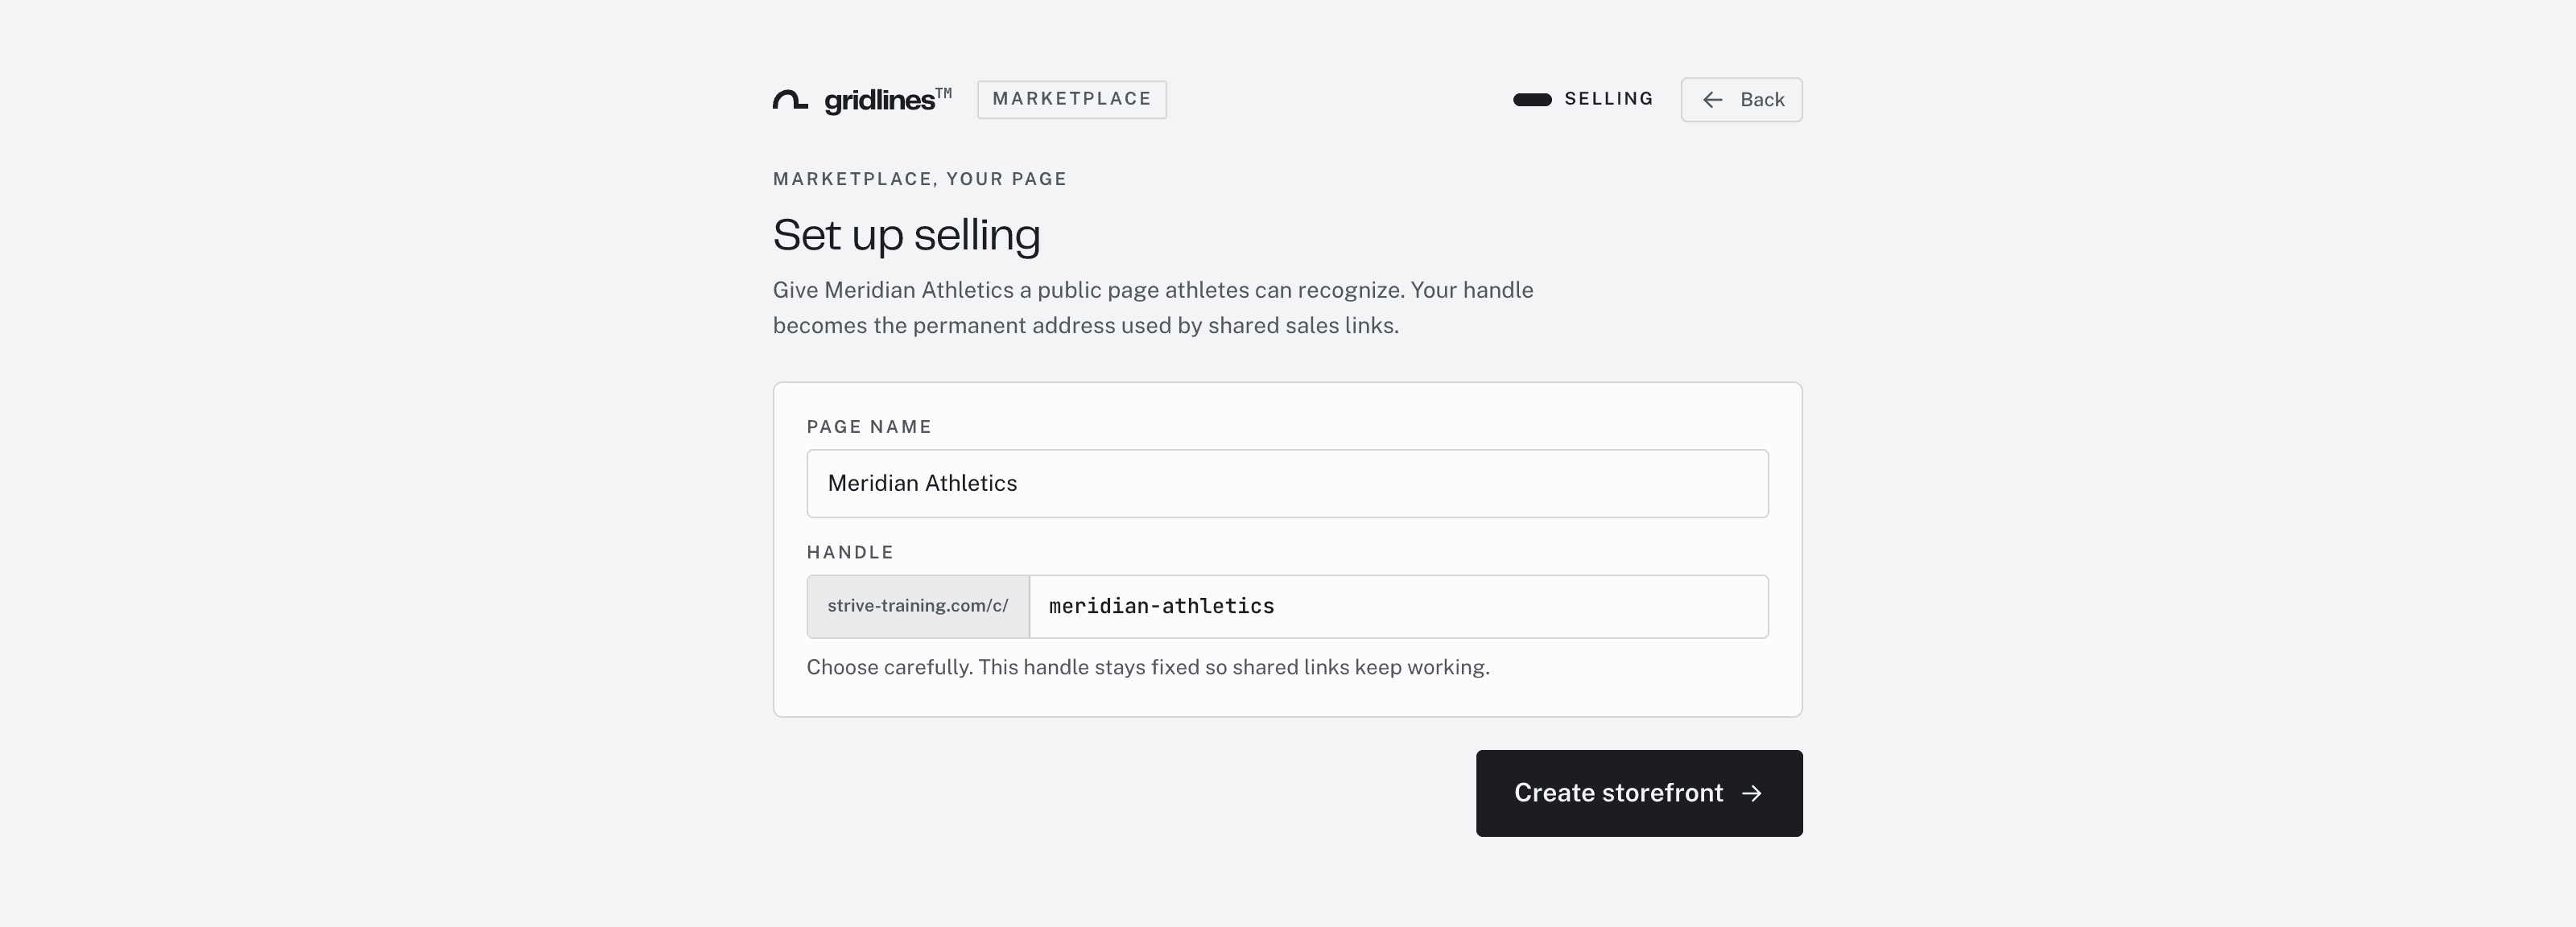
Storefront setup: a page name and a handle. Setting up your storefront covers what buyers see and the optional all-access subscription.
- Price the program
In your web dashboard, open Storefront > Program listings. Open the program and set a price. Selling also needs payouts. In Storefront > Payouts, click Connect Stripe. Stripe asks for a bank account and verifies your identity.
- Publish the listing
Publishing needs two switches. The program must be Live, and its listing must be Published. Until both are on, nothing is public.
Publish listing stays disabled until three things are true:
- the program is live
- payouts are connected
- a price is set
It names one missing thing at a time, with a button that fixes it.
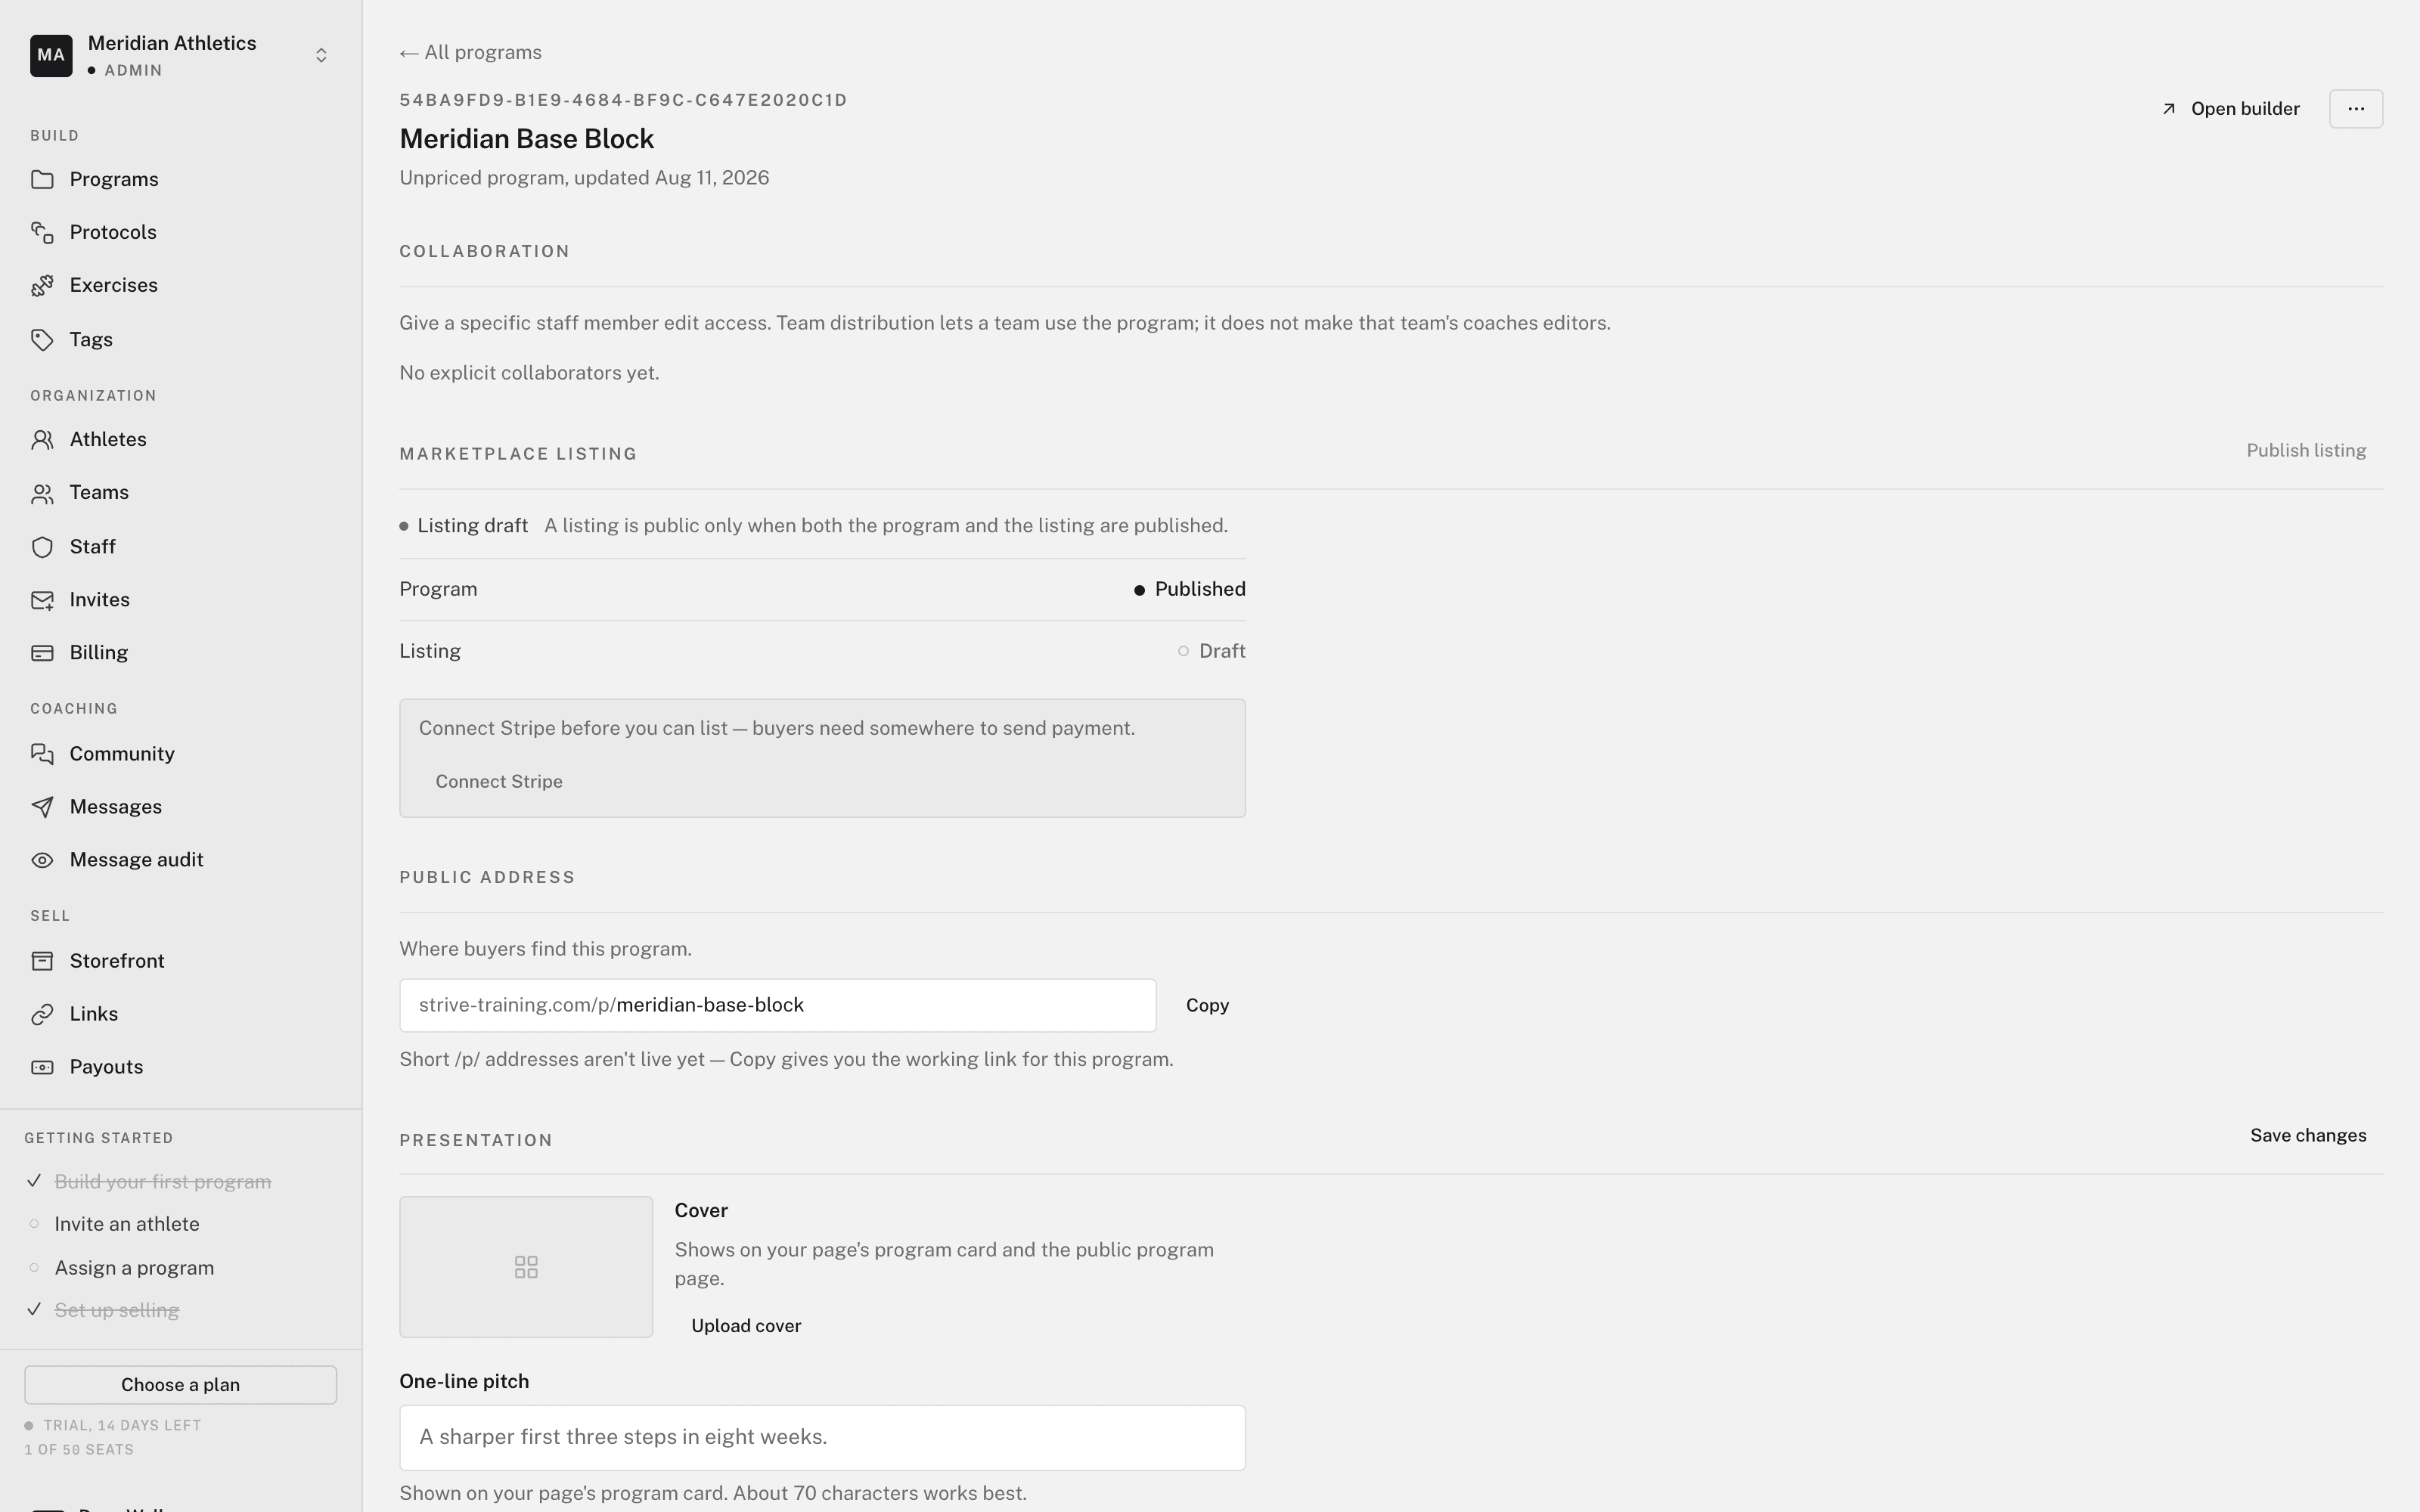
Publish, blocked until payouts are connected. - Share the link
Copy the program's public link from its page. Post it anywhere. The link carries your handle, which is what credits the sale to you. Share it exactly as copied. Retyping it or trimming the end strips the attribution. See Share links & attribution.
Where to go next
- Write more, faster — the program editor, writing schemes, and protocols.
- Sell better — listing on the marketplace for presentation and the two-axis model, and all-access for one subscription across your whole library.
- Get paid — Getting paid covers verification, fees, and where the money lands.
- Coach your own athletes — inviting athletes puts people on your roster, so you can program their calendars and see their training.